Copying and pasting pre-formatted text or table content from an external source like Word, Excel, or a web site can produce formatting errors. Click here for instructions on pasting from other sources.
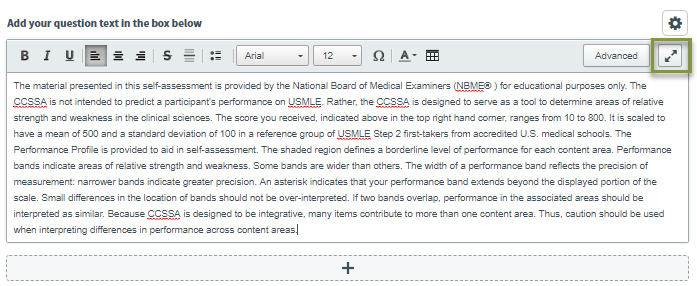
Item text
-
Click your mouse into a text box (question, answer option, etc.).
-
You can begin typing. As you type, the text box expands to accommodate the content. You can restore the text box to the original size using the Resize button.
-
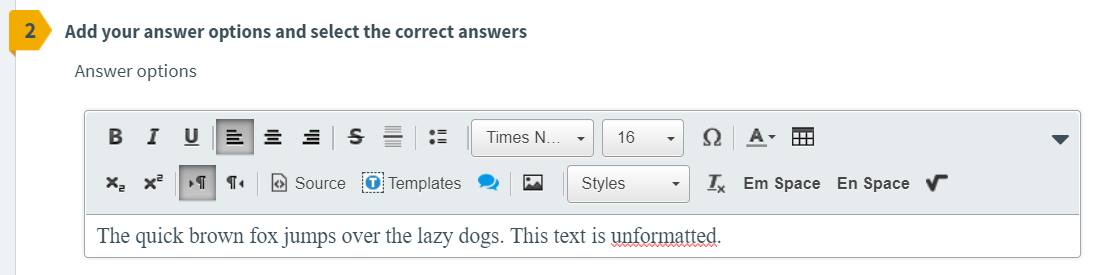
The rich-text formatting menu opens. Use this to perform basic functions like bolding text and inserting special characters. Use the Advanced menu for additional formatting options like subscript/superscript, small caps, and Em and En spaces.
-
Spell check automatically highlights misspelled words. NBME uses Dorland's to support the lexicon required for item writing, but it is not comprehensive. Double check terms highlighted as misspelled by Surpass if you disagree.
-
Open any item.
-
Without highlighting any text, left-click your mouse cursor in the Name field, then right-click to open the browser menu.
-
Select Spell check, then deselect both Use basic spell check and Use enhanced spell check so that neither option has a checkmark.
-
Remember to Save
 frequently as you work. If you exit your browser without saving, your changes will be lost.

When your cursor is active in a text box:

The Advanced menu must be open in order to save items that include sub/superscript. If you receive an error message, open the Advanced menu, and click Save again.

Item set vignette text
Item set vignette text can be edited from the item set container or from any other component item in the set.
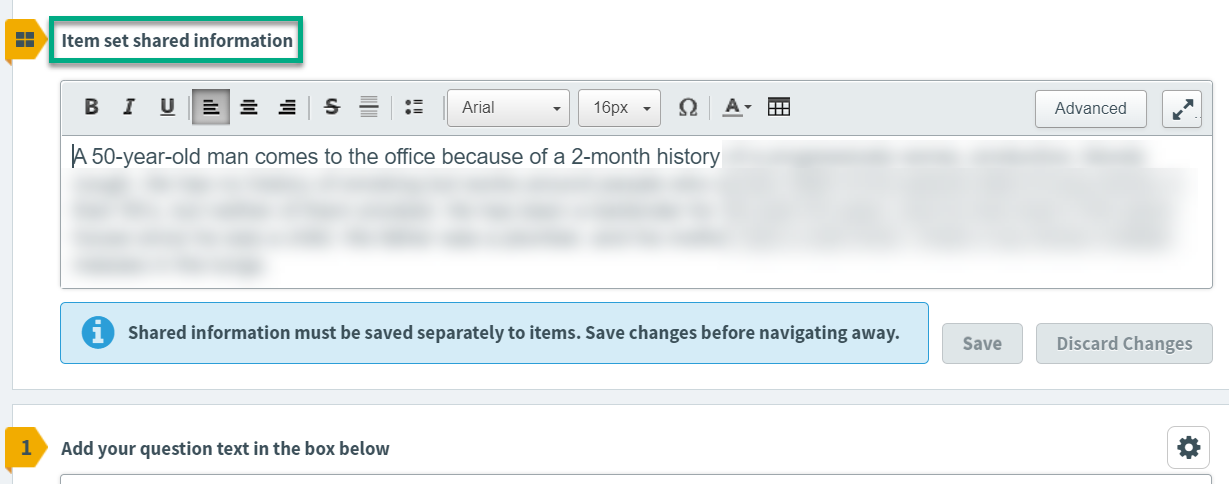
In a set component item, save or discard changes to shared vignette text separately from saving the entire item. Changes to the vignette text are lost if you leave the item without saving.
Tables
Do not paste entire tables from Word or other external sources. This can introduce HTML that causes Word export and item registration errors. Create your table in Surpass and then copy and paste the individual cell content as necessary.
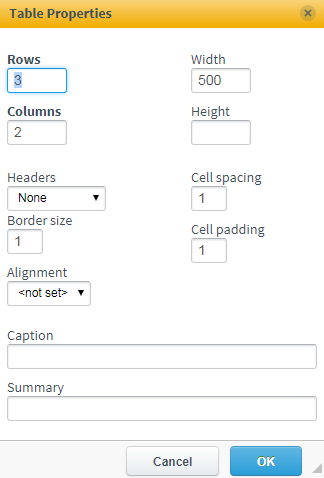
Create a table
-
Click
 in the formatting menu of any stem text box to create a new table.
 -
In the Table Properties window, enter the number of columns and rows for your table.
-
Set the Alignment to either Left, Center or Right. This setting defaults to <not set>, so you must choose an alignment for the table to display correctly.
-
Set the Border size to define whether or not borders will display for your table. A border size of 0 provides a ghost border for easier editing. This will not be displayed in the item preview or in the output. Setting the border size to 1 or greater will display hard borders at all times.
-
Width is set to 500 by default. You should not need to alter it. .
-
You do not need to alter the Height, Cell Spacing, or Cell Padding settings. The table will automatically adjust to your content.
-
Enter any other necessary information in the Table Properties window then click OK to complete your table setup.
-
Enter your table content. In the example image, the border size has been set to 0.


You cannot use the Tab key on your keyboard to navigate between table cells. Use the mouse or the arrow keys. Tab will take you directly to the next available text box.
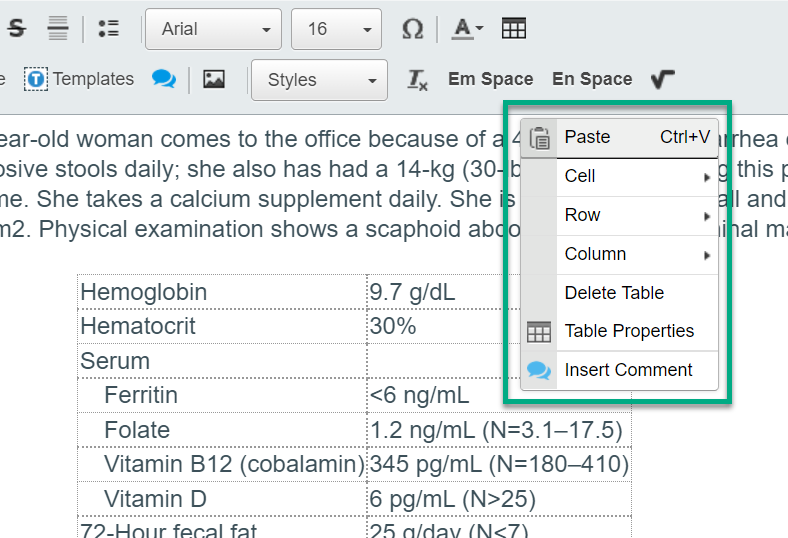
Edit a table
To adjust the Table Properties settings, or to edit row, column, and cell properties, right-click anywhere in the table and make a selection from the pop-up menu.
Additional authoring options
Copy and paste content from Word, Excel, and other programs
It is recommended to save any Word source files as an RTF file to avoid copying any formatting and to skip the steps below.
Text copied and pasted from Word and other commonly used programs often contains hidden code that can impede item editing. To paste text from Word, Excel, and other sources, follow the steps below.
These instructions paste text into Surpass without any formatting. Tables and lists must be created using the Surpass editing tools. Special characters are preserved during this process and should display properly.
- In your original document, highlight the text for your item.
- Press Ctrl+C, or right-click the selected text and click Copy.
- Click your cursor in the Surpass text box, and press Ctrl+Shift+V. (Do not right-click to paste in Surpass.) This inserts the text without the formatting code.
Your text should display without any formatting or styles applied.
If you accidentally paste text with formatting, highlight the text and click the Clear formatting button.
![]()
Special characters
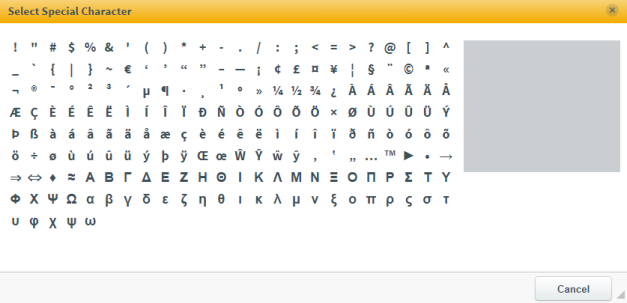
Click ![]() in the formatting menu to select from a variety of commonly used special characters. Copying and pasting special characters from other sources might cause text processing problems.
in the formatting menu to select from a variety of commonly used special characters. Copying and pasting special characters from other sources might cause text processing problems.
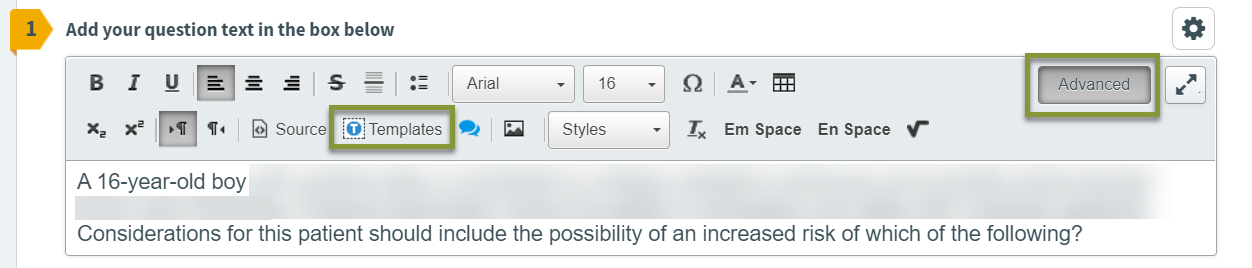
Templates
Click the Advanced button in an item text box. Select the Template button and choose a formatting template for specific item components such as charts, vital signs, etc.
Math formula Editor
You can include mathematical and chemical formulas in your items using the math Editor.
Do not use the math Editor to include special characters in item text. If you are including mathematical formulas generated using the Editor, replace the characters with those found in the Special Characters tool.
Click ![]() to open the Editor from the Advanced formatting menu.
to open the Editor from the Advanced formatting menu.

The math Editor window:
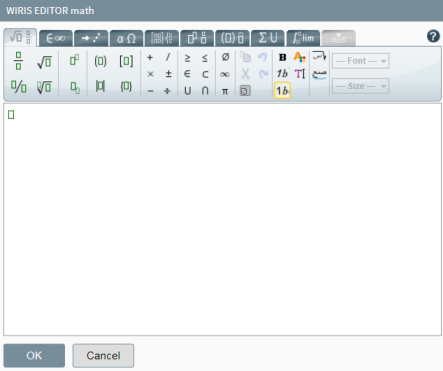
The following tabs are available across the top of the Editor. Each tab has its own set of tools/options.
- General tab
- Symbols tab
- Arrows tab
- Greek letters and numbers tab
- Matrices tab
- Scripts and Layout tab
- Decorations tab
- Big Operators tab
- Calculus tab
- Contextual tab
For more detailed information on using the WIRIS Math Editor/MathType tool, click the Help button  in the Editor window's upper-right corner, or visit the WIRIS website.
Save item changes
Click the Save button at the bottom of the screen.

You can now move to another item, keep working in this item, or close the item. To close an item, click the x button ![]() . If you have unsaved changes when closing, a dialog box displays.
. If you have unsaved changes when closing, a dialog box displays.
-
Choose to Save the item or Discard Changes before exiting.
-
Click Cancel to continue working in the item.

Items remain locked if you leave the item or close the browser without saving or discarding changes. Click here for information on unlocking items.
The new, saved item version reflects your changes since the item's last save.
©Copyright NBME 2024