Copying and pasting pre-formatted text or table content from an external source like Word, Excel, or a web site can produce formatting errors. Click here for instructions on pasting from other sources.
It is recommended whenever pasting content into Surpass to select the pasted text and Clear Formatting.![]()
Multiple choice option sets
- Click in the empty text boxes in section 2 of item authoring to enter option content. The formatting menu will open in the active text box. You can add formatting and additional options such as special characters, mathematical formulas, etc.
- Identify the correct option by clicking the circle to the right of the appropriate option. The correct option will highlight in green.
It is mandatory to select a correct option.

Three options are provided by default. You can add additional option boxes by clicking + in the bar below the existing options. Click X to the right of an option text box to delete any unnecessary options.

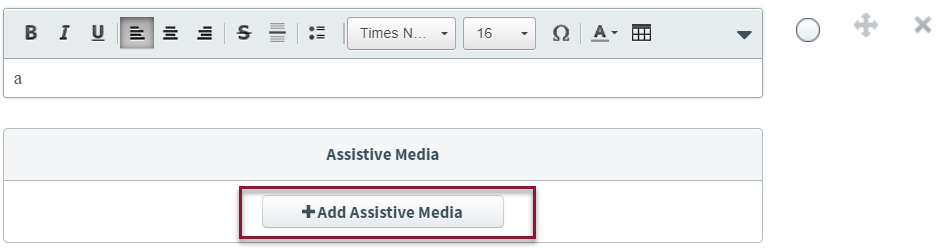
![]()
Do not add any Assistive Media to any option. NBME does not use this functionality.


Remember to Save  frequently as you work in item authoring. If you exit your browser without saving, your changes will be lost.
Option labels
- To add labels to an option set, click the gear icon
 above the text boxes to open the advanced options window.
 - Select Add Labels for Candidate Delivery and close the pop-up. Alphabetized labels will be applied to each option.
- Click the gear icon again to close the window.
Sort and reorder options
You can sort or reorder options depending on your needs. You can automatically alphabetize your option set, or you can drag and drop options to manually set your preferred order.
Table-type option sets do not support alphabetical or manual re-ordering.
To order the options alphabetically, click ![]() to open the additional options window, then Order Alphabetically. Close the window to return to your newly sorted options.
to open the additional options window, then Order Alphabetically. Close the window to return to your newly sorted options.

Alphabetization does not account for special characters, numbers or foreign language characters, including Greek characters. If you notice that your option does not alphabetize correctly, check that there isn't a space at the front of the option text.

Manually sort and reorder options by dragging and dropping them up or down to the desired location. Grab the ![]() icon for the option you want to move with your mouse, and drag it up or down to the desired position. The correct option designation will follow that option in the order you choose.
icon for the option you want to move with your mouse, and drag it up or down to the desired position. The correct option designation will follow that option in the order you choose.

Option set tables
- Click
 at the top of section 2 to select additional options.
 - Select Answer options as a table layout. Close the window to return to your option set.
-
Click in any of the table cells to open the formatting toolbar. The top row contains standard text editing tools for the table content. The second row contains the table formatting and layout options.
Tables are created with header rows by default. To delete the header, click Delete Header Row
 in the table formatting options.
- Enter your header and table content and Save.


Some typical keystrokes will not function in option set tables as you might be used to in other common software. For example: the tab key will not navigate from one table cell to the next, and you cannot use ctrl-z to undo an action.
Do not include a table in the option text. This will cause issues in NBME downstream systems including Draft, Fred Viewer, and publishing.

Access to the table formatting controls is context sensitive. If you are editing the header row, only the formatting options for the header will be available.
The following options are available in the table formatting toolbar:
|
|
Add Column Right: Adds a new column to the right of the selected column |
|
|
Delete Column: Deletes selected column |
|
|
Add Row Below: Adds a new row below the selected column |
|
|
Delete Row: Deletes selected row |
|
|
Add Header Row: Adds a new header row |
|
|
Delete Header Row: Deletes the selected header row |
|
|
Merge Cells: Merges 2 or more selected cells |
|
|
Split Cell: Splits cell into 2 separate cells |
|
|
Make Column Widths Equal: Makes 2 or more column widths equal size |


You can also include special characters and use the math Editor to add formulas and calculations to your tables.
Save answer options
Click the Save button at the bottom of the screen.

You can now move to another item, keep working in this item, or close the item. To close an item, click the x button ![]() . If you have unsaved changes when closing, a dialog box displays.
. If you have unsaved changes when closing, a dialog box displays.
-
Choose to Save the item or Discard Changes before exiting.
-
Click Cancel to continue working in the item.

Items remain locked if you leave the item or close the browser without saving or discarding changes. Click here for information on unlocking items.
The new, saved item version reflects your changes since the item's last save.
©Copyright NBME 2024